
And now it’s here – one of my most requested blog posts ever. I started my photography series with my total camera equipment, then I wrote about taking pictures in manual mode. Editing pictures won’t be enough. The raw picture should also be good enough. Afterwards you can edit it. Today’s post is about my tips for Lightroom picture editing. I’ve been using his program from Adobe for a long time now. You can do a lot with photos using this programme. In this blog post I’m offering you some tips on editing with Lightroom picture editing.
File Format
I shoot in JPEG. A lot of bloggers prefer RAW, but I haven’t done my research on this yet. RAW needs more space, but you have more opportunities to edit these pictures. Why do they need more space? A RAW picture saves the colors and the white balance seperately – that’s why it need more space. The advantage is that you can modif these settings afterwards. This doesn’t work with JPEG. But I’m happy with my pictures right now, so I don’t feel the need to change to RAW. A lot of people think that JPEG Pictures lose quality when editing, but I can’t confirm this. Maybe it’s because I don’t edit a lot and I want my pictures look professional in the first try. If you take good pictures in the first place, you won’t have to edit a lot. That’s why JPEG is enough.
Settings
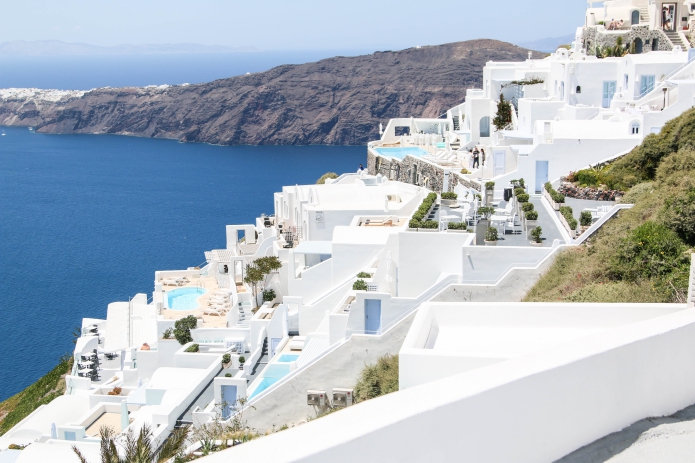
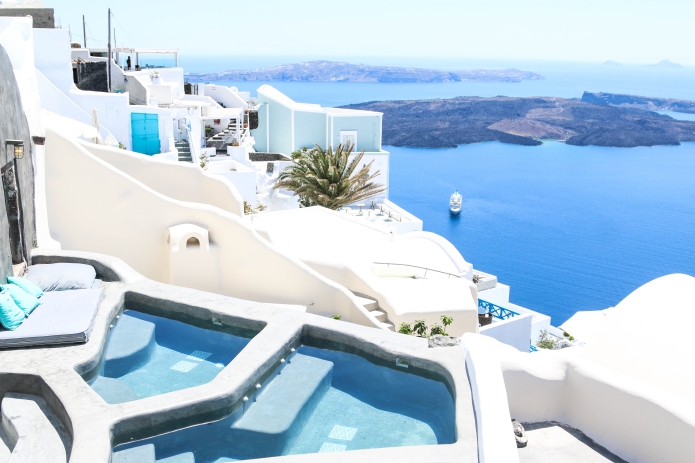
I like my Pictures most when they are bright and warm. You can see how I edited this picture. You can see the difference, although I didn’t do much. I think less is more.

Aligning the Picture
Habit: I’m take pictures with a spirit level and the Live-View Mode (only for product photos) but this is not possible with videos. I like tmy pictures being 100% even and you can put the motive into the middle. If you use the Live-View Mode, the pictures are never 100% even. If you use the Crop Tool in Lightroom you can ajust this. You can use the dashed line in the background.

Retouch and Area Reparation
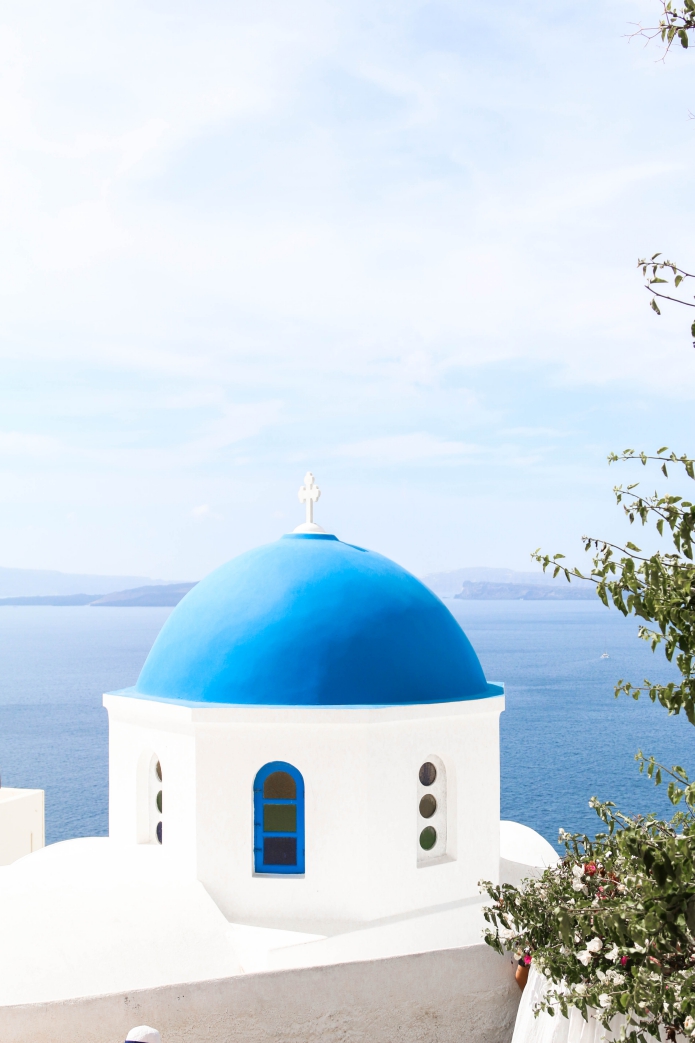
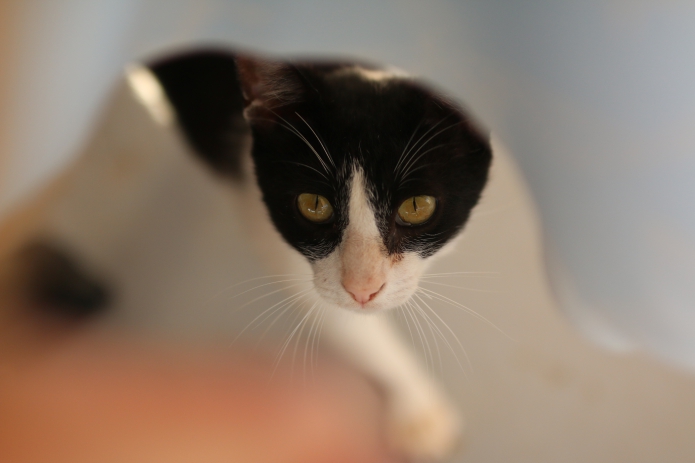
This is something you can use, but don’t over do it. I’ve seen so many pictures that were edited so much they became uglier than before. The people look so different from before. In Lightroom there’s a croptool. I use the copy stamp. I’m do not use the reparation mode. I don’t like sitting too long to edit a picture. The work isn’t worth it, because you have to edit every picture. I’m just editing pimples. I’m using retouching to remove things from the background. You can see it in this picture.
Color & Saturation
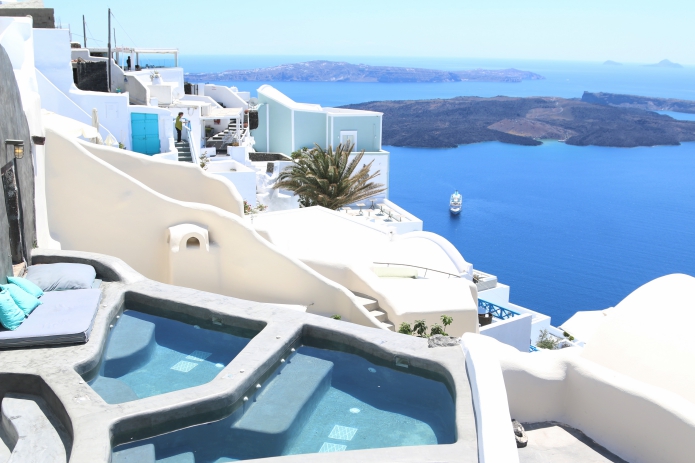
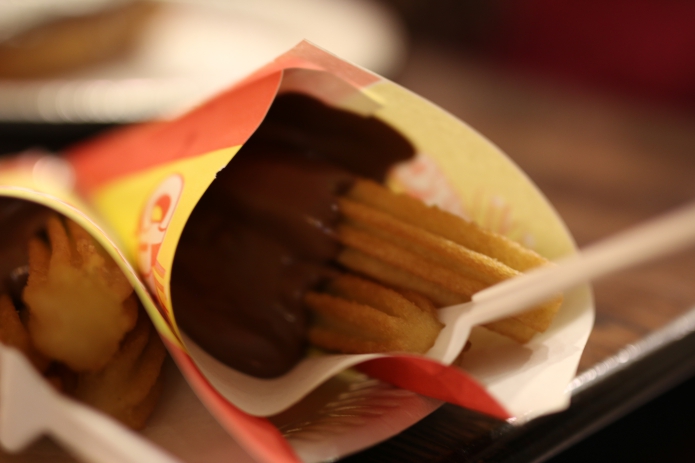
In almost every picture, I’m edit the color and sometimes the saturation, depending on how the light was. If it is bright and the sun is up, I turn down the saturation. If it’s too dark, I turn it up.

Focus
It can happen to the best photographers that a picture is not 100% sharp. You can use the settings to sharpen your picture. You know the settings from Instagram and other editing programs. If that’s not enough, you can use the retouch brush to select an area and sharpen it seperately.


Save settings or use templates (VSCO)
Every blogger has his or her own style and most of their pictures look similar. Some like grainy looking pictures, others like it black and white. If you have a certain pattern you can save your settings and edit pictures much faster. You can also user filters from VSCO.

I was wondering…
If I should do a free Webinar to show you live how I edit pictures? A step by step tutorial. Does that interest you? If yes, comment here.

Leave A Comment